Pages

Showing posts with label Art. Show all posts

Monday, February 26, 2018

Renaissance and Reformation Art & Lapbook


Lindsey's 2nd semester history focused on the Renaissance and Reformation. She's spent a great deal of time working on art projects.  She has been quite pleased with herself as most of the art has turned out like it should (art is not her gifted area).

Her first project was working with chalk pastels, and she really enjoys these because they are so forgiving and easy to correct and or change.
Next she worked with tempera paint.  I have to admit I wasn't happy with the amount of eggs she used in her project to make her paints.  However it turned out well and she had fun so, who needs eggs right?
She then moved on to charcoals and worked on shading and depth in drawings.
 

 The next project was supposed to feature water soluble acrylics, which we didn't have.  In true homeschooler fashion we improvised and used watercolors and tada, problem solved.

To wrap up her study Lindsey assembled her lapbook and completed her notebook work.   Below are photos of her finished work.


In case you're interested, we used Renaissance and Reformation Project Passport from Home School in the Woods.   We've also used their The Middle Ages Project Passport in the past and my non-history lover enjoyed all the hands on activities, so we incorporated it again this semester.  She loves learning about the peoples lives and the things that were going on in a less "memorize the date/place/name" way, and this is a perfect fit for her.
Pin It!

Wednesday, November 8, 2017

Virtual Refrigerator - Still Life in Charcoal

Olivia is developing her skills with charcoal this year.    I've combined several projects here, since I keep forgetting to do a separate blog post on her artwork.  (Blogger mom fail.)
 
This week her focus was on creating a still life collage.  Below is her "model".   Followed by her rendition.

I'm also including an extra drawing she made of my favorite coffee cup. 

Linking up with this weeks Virtual Refrigerator.
grab button for Homeschool Coffee Break


Pin It!

Tuesday, August 29, 2017

Kwik Stix - Now at BJ's Wholesale Clubs


If you’ve been reading my blog long, you've probably seen some of my reviews (here and here) of the Kwik Stix product line, and you’ll already know how fun, easy and non-messy their products are for all ages.

For those of you who may be new to my blog, Kwik Stix are solid tempera paint sticks in a roll up tube (think glue stick design).  The Stix come in a variety of colors like classic, neon, metalix.  The product comes in the standard, chunkier size for little hands, and Thin Stix for smaller spaces and more intricate work, as well as various size packs for the home and classroom.    The photo below shows the regular Stix on the top and the Thin Stix on the bottom, and this is the classic colors set.
 

For exciting news,  Kwik Stix are now available at all BJ’s Wholesale Clubs!   The Kwik Stix 24 pack is normally priced at $24.99. BJ’s has the 24pk available for only $19.99, so it's a great deal!  Be thinking Christmas gifts!!


Pin It!

Monday, June 12, 2017

End of Year Co-op Art Show

Our first co-op year has come to a close.  We celebrated with an end of the year family night that consisted of an ASL presentation by the students and an art show.   We had a few grandparents come, and it was nice to have the dads get to be involved for a change.  I grouped the artwork by month/country and then had each family pick one country and bring an authentic snack.  The "thinking outside the box" award went to the family who picked Japan and made "sushi" out of rice crispy treats wrapped in fruit leather and topped with gummy fish.
 
I taught both the art and cultures class this year. Each month I'd teach about a country including some map work, language, religions, games and historical & cultural information.  I also provided a snack from each country.  Once we finished that part of the class, we moved into art and did a project based on the country we'd just studied. Our students ranged in age from 5 to 14, all in one class.  As you can see, that did skew the art lessons somewhat.  We worked with chalk pastels, water colors, acrylics and just plain old markers too.


The ASL presentations were done in pairs, with one student signing and the other interpreting.   I have a couple of photos of my girls signing.  I didn't take any of the pairs working together, as they all stood pretty far apart each time.
 
Does your group or co-op do any fun year end event?
Pin It!

Monday, May 1, 2017

ArtAchieve - Level IV (Review)

Olivia is finding that she has a real knack for art, and has even won a recent art contest.  We were both thrilled to get an opportunity to review the Entire Level IV package from ArtAchieve.  This is an online art program.  You can purchase an entire level for one year, there are bundles of 3 lessons ranging from $10-$13, or you can pick and choose art projects for $6 per lesson/year access.   There are five (5) levels of lessons to choose from, the first level being for younger students, or those with little art training, and working up to the more advanced student.

Each lesson has several basic elements/options.   There is a warm up that you can print out to help get the student ready, most lessons have a printout of the drawing (great for younger students who can't quite do the full lesson), a step by step video lesson and a PowerPoint lesson if you prefer to move slower than the video.    There are also cross curricular free links and information within the lesson description to allow you to create an entire lesson or mini unit study around the art project.

The first project Olivia worked on was the Chinese Horse.  Olivia opted to use the PowerPoint lesson so that she could take her time more than using the video lesson.   First she completed the warm up page, you can see an example of the completed warm up below.
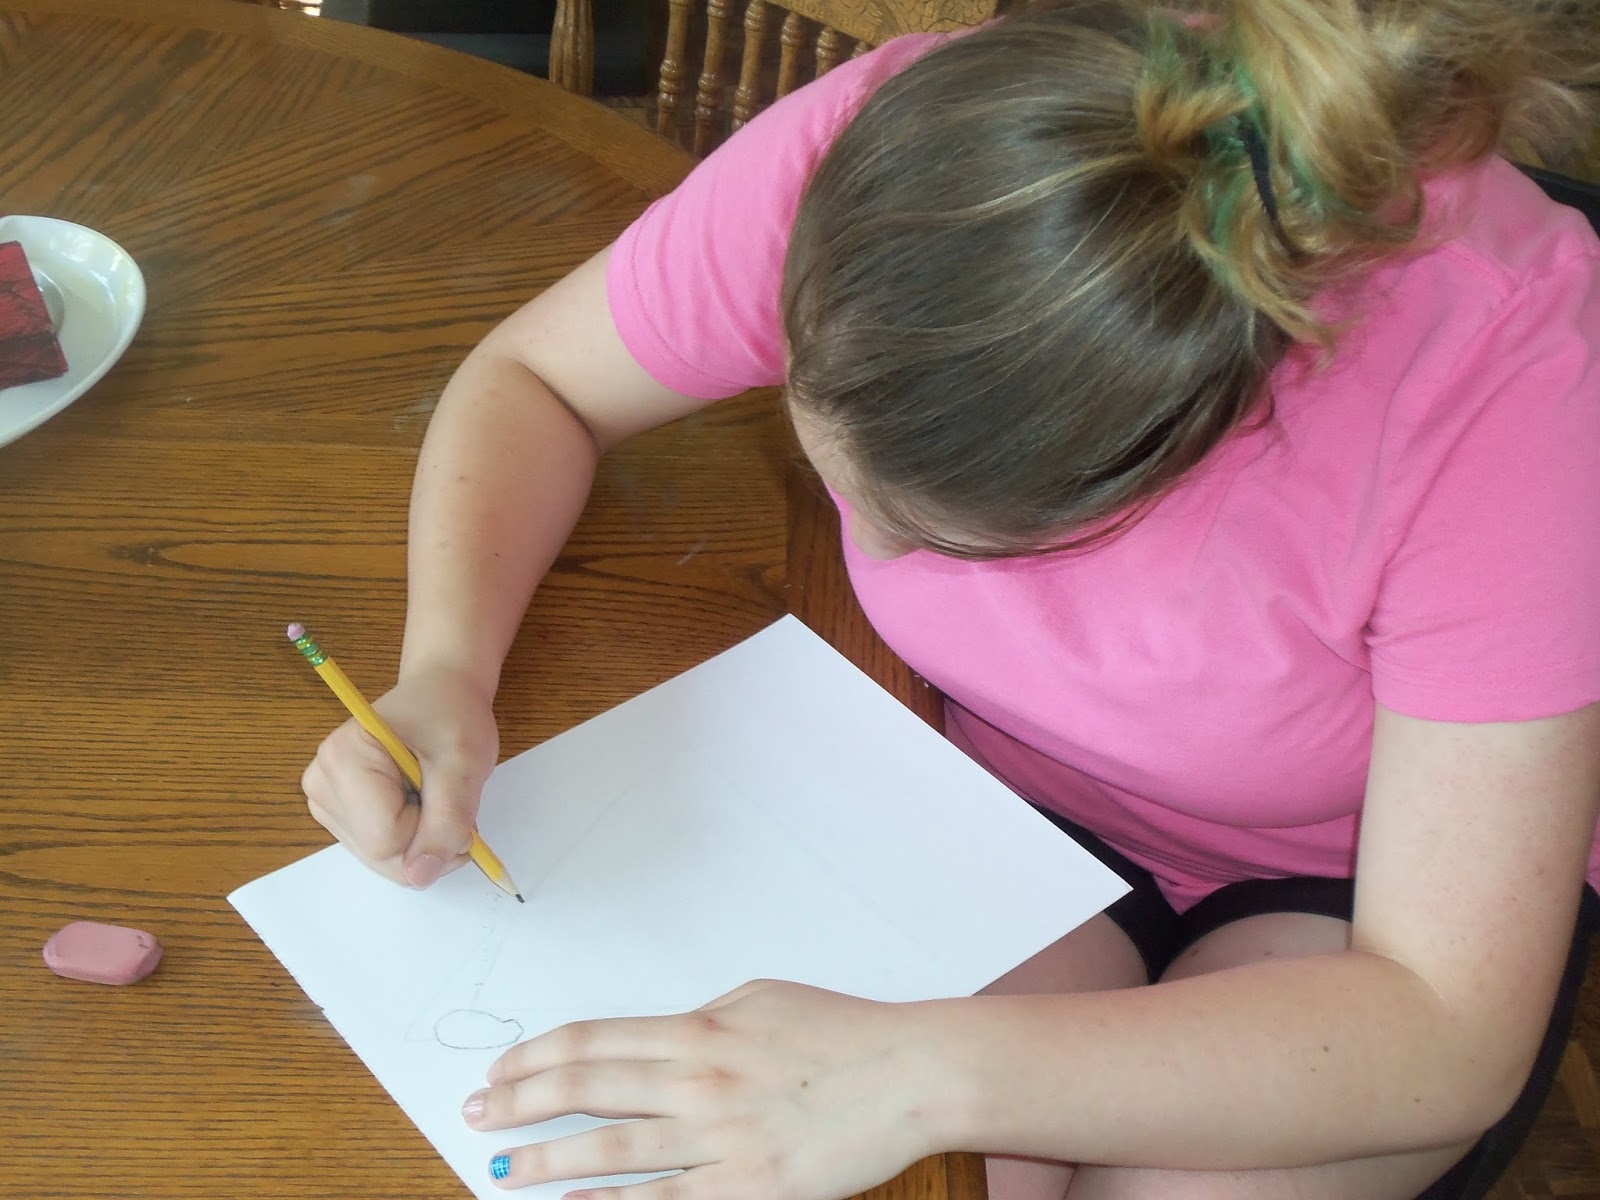
She went back and forth between the screen and her art work, changing to the next slide as she progressed.
The program tells you to draw in permanent marker during many of the lesson.  Olivia chooses to draw in pencil, then once she's completed the project she goes back over it in marker.
Below is the completed project.  Once she traced the drawing in black permanent marker, she used gold metallic permanent marker and a white charcoal pencil to add the details and contours.  This project took her roughly an hour to finish.
Here are photos of other projects Olivia created using ArtAchieve Level IV.
The Monster of Bangladesh
The most time consuming project was her faux stained glass.  First she had to draw the design, then mix glue and black acrylic paint and apply that to the drawing for the "lead" look.   This took several hours to dry, so the final step, painting had to take place the following day.  Below are photos of the process and the final product.
 
 
Stained Glass Nativity
Each lesson moves in incremental steps.  The instructor, or PowerPoint slide, explains to the student how to measure the spacing for their art, and then helps them see how and where to draw the individual components so that the picture takes shape as they are working.   This keeps the student from getting overwhelmed by the overall size of the project.

Olivia  has truly enjoyed the variation in projects, the different art medias she's used and has really been pleased with the results of her work.   Lindsey isn't a huge fan of art, so she skipped this review.   I will say, I've used Level II in my co-op class and have had a great success rate, and my students range from 5-14.   This is a program that really makes art doable for a vast range of students.

Another big plus for this program is that you don't have to spend an enormous amount of money on art supplies.  For the most part a permanent marker, colored pencils, drawing paper, watercolors and regular markers are enough to get your student started.

This is an online program, and as the technology devils would have it, I ran into an issue two weeks into this review.   I emailed the company and they worked with me for several days trying to make sure I was able to access the site and use their product.   I mean they went above and beyond helping me, even after the knew the problem wasn't on their end.   Come to find out, if you unplug a router and let it sit for a few minutes, it solves a world of problems....and I never would have know that had it not been for the wonderful (and oh.so.patient) folks in their IT department.

To read more TOS reviews of this product, click here.

Pin It!

Thursday, January 26, 2017

Thin Stix - Product Review

If you've read my review about Kwik Stix, and Kwik Stix Metalix, then brace yourself for more greatness.    These solid tempera paints now come in THIN STIX!  That's right, the same great 90 second drying paints, but in a thinner design for more intricate work.

Let me clarify, when I say thinner, that does not mean coloring pencil thin, but it does mean considerably smaller (and less little kid looking) than the original product.  The photo above shows the thinner design.  The photo below contrasts the original Kwik Stix (top of photo) and the new Thin Stix (bottom of photo).
Regardless of which product you use, you'll love these easy, no mess solid tempera paints.  Like I mentioned earlier, drying time is 90 seconds, and you can stack the colors once the first layer is dried.  

Below are photos of an art project I was working on for my early elementary co-op class.  On the left you can see the rich colors, and on the right you can see the new look once I've added a layer of other color in some areas.
While the original design is perfect for little hands, the new Thin Stix design is great for the older student who may be concerned about looking cool (ahem), but also lends itself more easily to smaller areas.

Both the original and Thin Stix are available at Amazon.

I received this product free of charge for review purposes only.  I was  not required to write a positive review, nor did I receive any other form of compensation.
Pin It!