Pages

Showing posts with label Hands On Projects. Show all posts

Monday, January 9, 2023

The Craft & Sewing Room

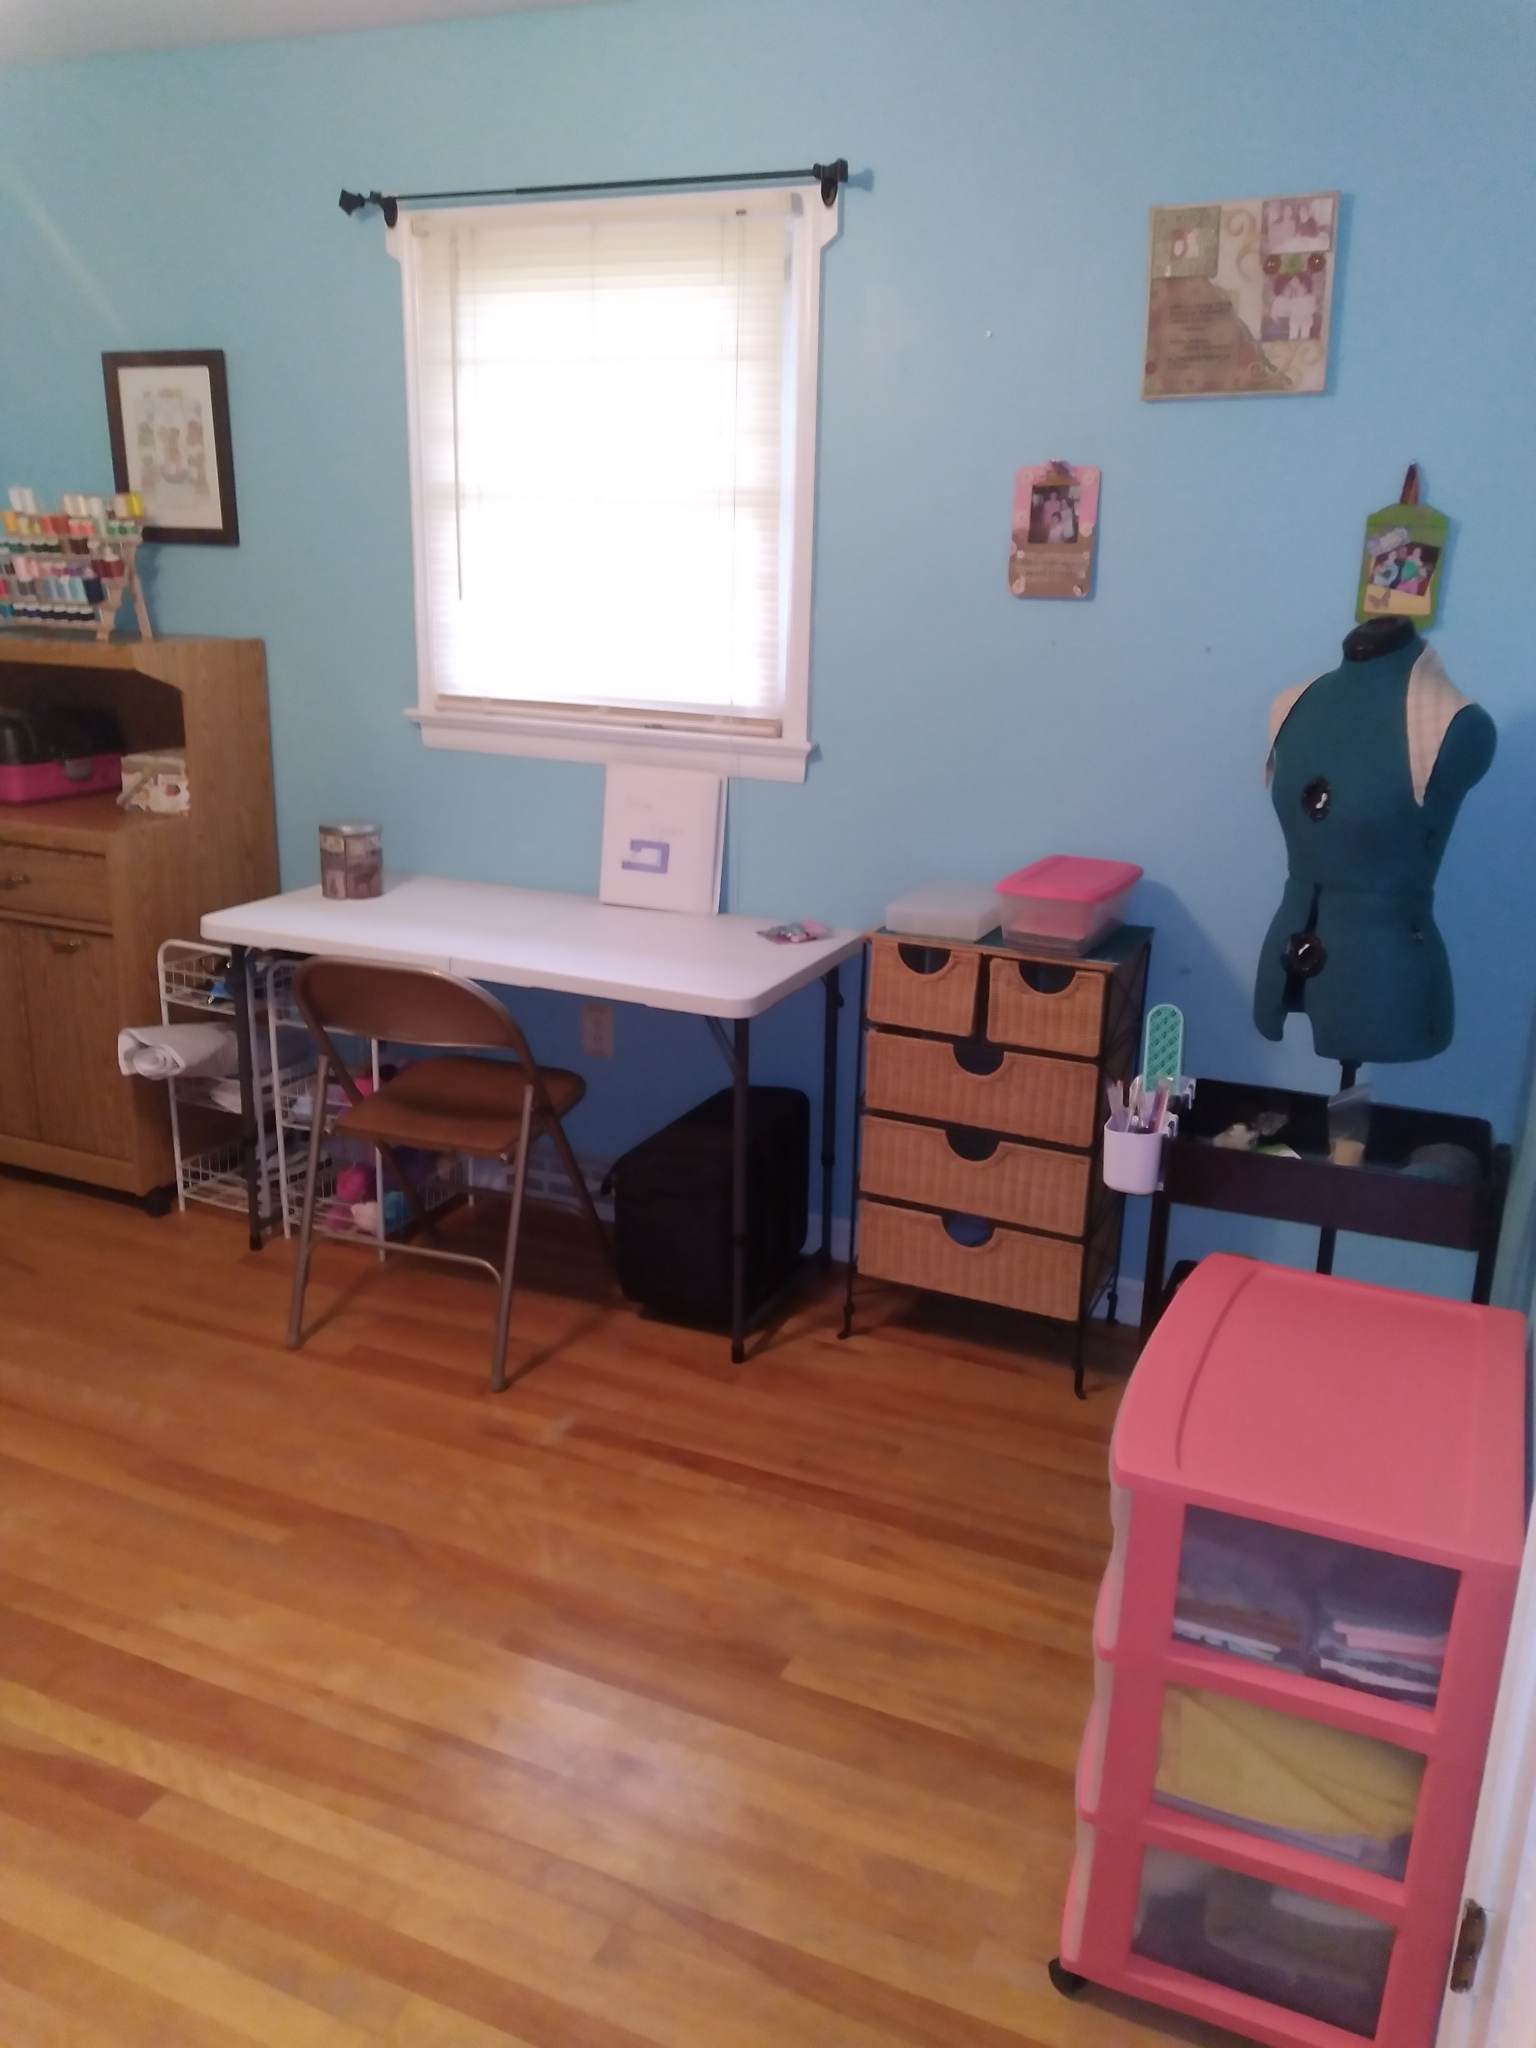
When we decided to redo the basement, that of course meant that Olivia's room upstairs would be empty.  I fully expected Lindsey to want to move, as that room is bigger than hers, but I was wrong.  Instead, she asked if it could be her sewing room.  I compromised, and we turned it into a combined craft (scrapbooking) and sewing room for both of us.

We didn't change the color of the room itself, because I loathe painting.  We need to get a couple of window treatments, since we repurposed the old ones to fit into Olivia's new room.  We also need a couple comfortable chairs for our work stations.  However, here's a tour of our new creative area without those two items.  These are the original hardwood floors that run throughout the main floor of the house.  The flooring we picked for the basement was picked to match this and pull that same color/wood tone throughout the house.


There will be a large folding table in the middle of the room that we can both use for projects.  It's currently being used in the unfinished side of the basement for purging/sorting purposes.

Sometime in the spring we HOPE to put new flooring in the sun porch and give that a fresh look as well.


Pin It!

Friday, January 6, 2023

Basement Make Over

My husband was off work for a 12 day stretch beginning December 23.   We had decided to use this time to work on redoing the flooring in our basement.  You may (or may not) recall, we had a flood in August of 2020 that required all the carpeting to be ripped out, and we lost much of the furniture that was in there as well.   We'd just hadn't gotten around to it, mostly because we just don't use that side of the basement much since we quit having our school room down there.  

Back in November, I realized how crowded Olivia's poor bedroom was, and had an epiphany that we could redo the floors and she could move downstairs to have more room.  It does tend to be a lot cooler down there all year round, so she slept on the floor a couple of times to make sure she wouldn't mind.  She actually sleeps better in the coolness, so there's that.

December 22 - we moved all of the sewing/crafting/scrapbooking supplies from this side of the basement to the storage side, where the furnace and hot water heater are.  The room didn't seem to have "THAT" much in it when we started moving things over, but we soon filled up the unfinished side of the basement.   I left a little path to the deep freezer, the washer/dryer and left a safe gap around the furnace and hot water heater.

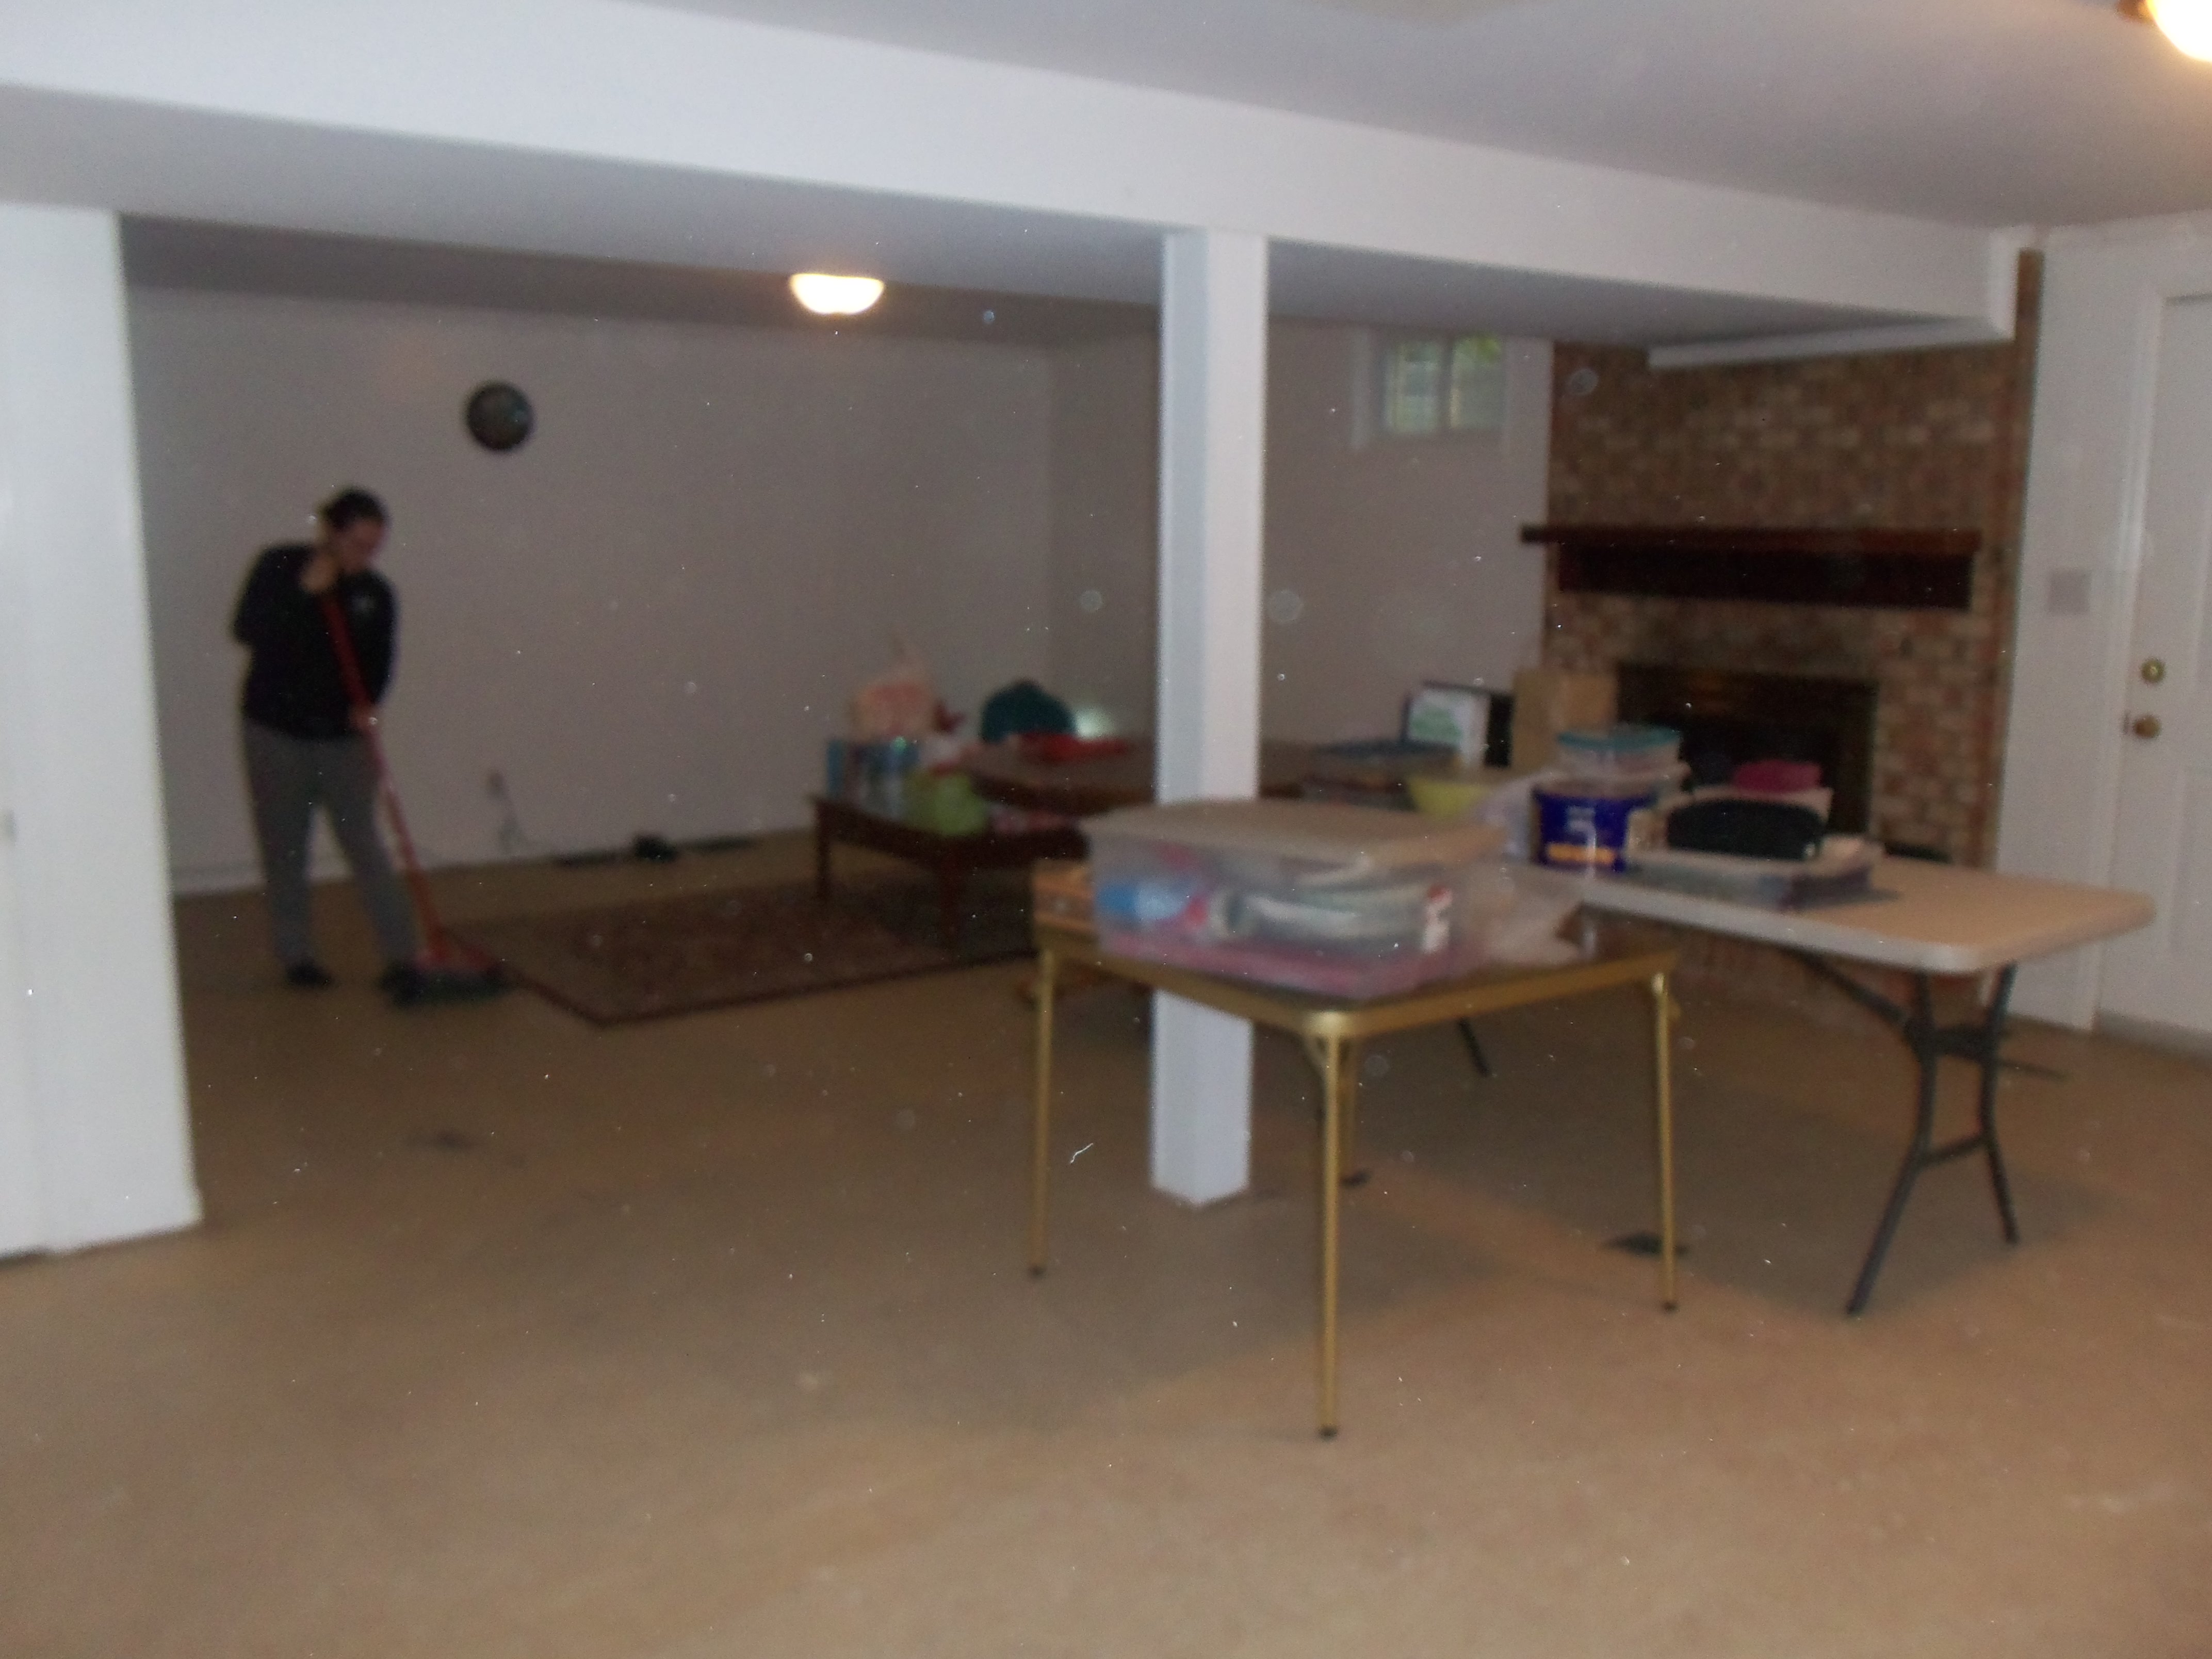
December 23 - The tiles that are on the basement floor are asbestos, so we chose to encapsulate them instead of having to pay a company to come in and "properly remove" them.  There are a few tiles cracked and missing.  Tom and Olivia spent the day filling those missing areas in with floor leveler and cleaning the floor.  As seen in the photos, I had to leave a few tables up until I finished packing/delivering holiday sweets.


December 24-25 I'd told everyone that there would be no working on the floor, mostly because I didn't want anyone getting stressed and causing havoc for the holidays.  This is true in part, but it was also because Olivia had bought Tom and oscillating tool for Christmas, and we didn't want to risk him going out to buy one when he got to a place where he needed it.

Here are photos of the before, from several different angles.  You can see the areas that were missing tile, or had broken tile (the black is the missing area).


December 26 the flooring began in earnest.  This was a learning curve, since Tom had never worked with flooring.  The original plan was Olivia would help him, but with her work schedule and having to work the horses that were at the barn, she wasn't here for much.  Lindsey and I were the helpers.

This first photo was the beginning, and the second photo was where the day ended.  I'll admit, I was not amused with the lack of progress.  I am a results driven individual, but it was a learning curve and slow progress was to be expected.


Part of the issue was that Tom's wood working equipment is all in our outside shed. When he works with it, he moves it out onto the back patio.  This meant every time he had to cut a piece he'd have to go up the basement steps, through the house and out to the back yard.  Let's just say he put a lot of mileage on those steps during this project.

December 27 we started working at about 8:30 and got considerably more completed.  Today's biggest hang up in progress was having to cut the pieces around the fireplace corners, the closet door and the door jam.


December 28 - For the most part, the flooring was straight with no cutting in.  There was an area around the door way into the unfinished side of the basement that took a bit of time to get it fit properly.  Then the last row of flooring had to be cut to fit a strip about 3.5 inches wide.


December 29 - Tom had to go pick up the trim, transition strips and nails for the nail gun to finish out the edges of the room.  He ran to the store and picked up the needed supplies first thing in the morning, then we headed out to have our final Christmas get together of the year, with my BFF and her husband.

December 30 - The trim was installed in the main room, and the closet flooring went in.

December 31 - Honestly, it's a blur.  I don't think we really did anything on the basement.  We had folks over in the evening for snacks, games and fellowship, so I spent my day making food and cleaning the house.   No photos...sigh.

January 1 - Tom got the closet trim installed and we assembled Olivia's new rolling clothes rack and shoe rack.  She moved all of her closet items in between shifts at work.

January 2 - We spent the day moving Olivia's furniture into her new suite.  I realized that Lindsey is a little stronger than I'd given her credit for, as she helped me moved some pretty heavy items.   Olivia was able to get most of her things put away between shifts and at the end of the work day.

Here's a tour of the new "suite".   You'll notice her horse motif throughout the room, I guess you'd say it has a southwestern flavor.  You'll have to overlook her boots, they are apparently fashionable and decorative.  First up is the stairway from the upstairs, complete with twinkle lights on the handrail.

As soon as you come down the stairs, the bedroom portion of the room is directly in front of you.  Notice her t-shirt quilt on her bed.  I saved all the shirts from camps, ballet performances and sports teams from the time she was little and had the quilt made as her graduation present.

To the left, directly by the stairway is her other dresser, and the close is directly behind the wall, under the steps.

Looking out across the room, the next portion is her "sitting room", complete with a working fireplace.  

The back part of the room has a doorway that exits to the outside (beside the fireplace), and then her TV area and dining table and library/office run along the back wall.

This was a much longer process than I'd envisioned, but I'm very pleased with how it turned out.  In case you're wondering, Olivia doesn't spend anymore time in her new room than she did the old room.  She's rarely home during the day, and mostly hangs out up here with us like always. 

I'll show you what we did with her old room in a later post.

Pin It!

Monday, September 12, 2022

1850's Comes To Life

If you've been reading my blog long, you'll remember that Lindsey spent several years in the John Lewis Society as a costumed interpreter at one of our local museums.   She also participates each year in costume at the Holiday Lantern Tours.  Surprisingly, my history hater has really taken to this time period, specifically the cooking and clothing styles. 

Lindsey plans to return as an "adult volunteer" this fall, and has already been approved for the position.  She has spent the last several months, and lots of her own money in purchasing the materials to make her own, authentic 1850's outfit.  All cloth had to be 100% cotton, or 100% wool for heavy items, and patterns and colors must reflect those of the time frame.

Lindsey used her knowledge of historical clothing, and her tape measure to create a dress, apron, petticoats, chemise and kerchief without a pattern.  She had me help with her measurements so she wasn't having to bend and twist and get the wrong numbers.  Other than that, this was her project start to finish.  She will need to make a corset, but will be working on that at the museum under the tutelage of the costume seamstress.

Our dining room became the fabric cutting, pinning and ironing station.


The living room, specifically the sofa, became the sewing room. Each day she would sit and sew until her hands would cramp.  There were times that I had to banish the sewing station in order to have room for guests and the rest of us to sit in the evenings.


Please note, in the photos below, she is wearing a tank top and shorts beneath her costume clothing for modesty.  This is due to lighting with the white undergarments, so if you see the blue on the shoulders, that's why.

This is the chemise, which serves as a slip as well as sleeping garment.  She put gussets in the arm pit area to prevent seams from splitting when her arms are raised.  It was interesting to watch her figure out the configuration to add the material without it bunching.    The neck has a hook closure that allows for ease in getting dressed and undressed.  There is a tiny "V" just below the collar (you can see it in the photo below) that allows for extra room, also to prevent ripping during movement.


This next photo shows her with the chemise, her first petticoat, and the kerchief, which goes on around the neck between the chemise and dress.


This photo is the same as the first, but adds the second petticoat over the first.  Each petticoat has hook closures on the back.

Next is the dress itself.  The fabric is sage green, with tiny flowers.  The bodice and sleeves are lined in cream material, and the bottom is lined with a lovely dusty rose and trimmed with black edging to hide dirt and prevent wear.   She hand pleated the entire skirt to get the right sizing and amount of fullness.  The bodice also has hook closures on the front.


The apron is a light brown plaid.  All aprons of the time were made from plaid print material. The apron would be pinned up over the bodice during cooking, and then would be dropped down when less likely to soil the top of the dress, or when going away from home.


Pockets were typically sewn onto a waistband and worn under the dress for storage. This means there had to be slits in the dress below the waist band to reach through to access the pockets.  Lindsey chose instead to add pockets to the underneath side of the apron.  The cream area you see in the center of the pocket is the edging around the opening to prevent fraying and it is also the backing material for the pocket.


Lindsey ordered 100% cotton stockings online, and knitted her own garters to hold the stockings above the knee.  For shoes, she's allowed to wear plain black or brown boots or shoes with no modern embellishments.

This is what interest lead learning, and craftsmanship look like!


Pin It!

Monday, February 26, 2018

Renaissance and Reformation Art & Lapbook


Lindsey's 2nd semester history focused on the Renaissance and Reformation. She's spent a great deal of time working on art projects.  She has been quite pleased with herself as most of the art has turned out like it should (art is not her gifted area).

Her first project was working with chalk pastels, and she really enjoys these because they are so forgiving and easy to correct and or change.
Next she worked with tempera paint.  I have to admit I wasn't happy with the amount of eggs she used in her project to make her paints.  However it turned out well and she had fun so, who needs eggs right?
She then moved on to charcoals and worked on shading and depth in drawings.
 

 The next project was supposed to feature water soluble acrylics, which we didn't have.  In true homeschooler fashion we improvised and used watercolors and tada, problem solved.

To wrap up her study Lindsey assembled her lapbook and completed her notebook work.   Below are photos of her finished work.


In case you're interested, we used Renaissance and Reformation Project Passport from Home School in the Woods.   We've also used their The Middle Ages Project Passport in the past and my non-history lover enjoyed all the hands on activities, so we incorporated it again this semester.  She loves learning about the peoples lives and the things that were going on in a less "memorize the date/place/name" way, and this is a perfect fit for her.
Pin It!

Monday, December 18, 2017

Christmas Ornaments and Family Fun

When I planned out this academic year I also planned on doing a daily Christmas ornament craft with the girls every day in December, up until we broke for the holidays.   Yeah, so then reality set in and between Olivia's heavy academic load, playing JV basketball and everything else going on, I saw that the likelihood of us having time to do something every day wasn't likely.   Instead I scheduled a crafting day and left it at that.

Most of the crafts here can be found on my Christmas Pinterest Board if you need more in depth directions, or if you want to see what it SHOULD have looked like in comparison to what ours actually DID look like.   As you can see, Santa stopped by to craft with us.


We made little felt ornaments, little hats, decorated glass balls and make some yarn orbs.   Here's a peek at a few of the finished items (the yarn orbs are STILL drying, so the balloons haven't been popped).


Our ornaments didn't turn our perfect, and we didn't get to nearly as many of the projects as I'd had planned.  But we spent 4 hours laughing, talking, singing Christmas songs and making memories, so it was a very successful day!
Pin It!